Today I would like to introduce you to the "deej" project from omriharel (GitHub) will introduce. This enables volume control via external hardware and not only control of the overall volume, but also individual programs or devices such as speakers, headphones or the connected microphone on your PC.
For example, the volume of individual programs can be mixed independently.
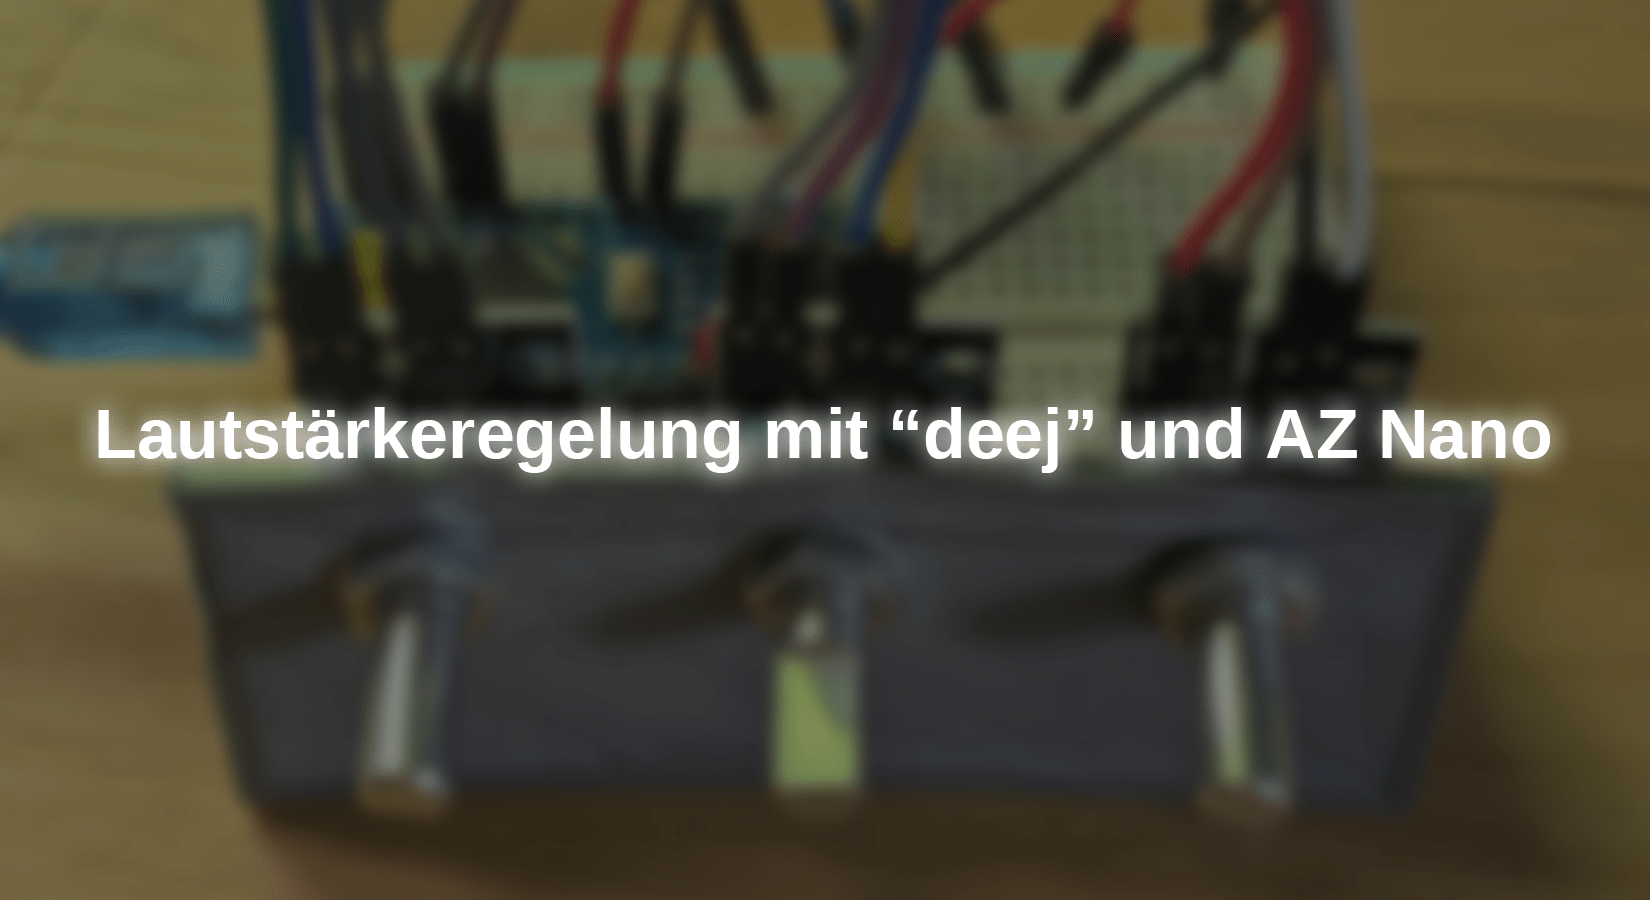
Hardware
Connect the rotary encoders as follows to the Nano.

The number of rotary encoders can be varied as required. Three are used for illustration purposes.
Software
Install deej
Install the software deej software on your computer so that it can set the volume on the device accordingly.
Download from the GitHub page of the project, download the deej.exe file of the latest release and move it to a new directory.
If you have an operating system other than Windows installed on your computer, you will need to compile the file yourself. You can find more information on this in the GitHub repository.
Microcontroller programming
If this is your first time using the Nano microcontroller for the first time, you must first program the CH340 driver.
For easier reading of the encoder values, the Encoder.h library is required. This can be installed as usual via the integrated library manager or as a .zip file in the Arduino IDE.
Download the Nano the following code by selecting the correct board and COM port in the Arduino IDE.
If you have problems with the upload, go to Tools>Processor and select Atmega328P (Old Bootloader).
|
#include |
At the beginning, the encoder library is integrated and objects for the encoders are created. In the setup() the serial monitor is initialized. In the following loop() the encoder position is determined and, if necessary, limited to the 10-bit value range. As the encoders comprise 32 steps per revolution, the value is multiplied by a factor of 50. These are then transferred to the computer in the specified format via the serial interface.
Test the setup by opening the serial monitor in the Arduino IDE and checking whether the values in the monitor change accordingly when the encoders are turned.
Software configuration
Once the hardware has been successfully tested, you can now configure the software that reads the values via the serial port in the background.
To do this, create the config.yaml file in the previously created directory using any editor (alternatively, the example file here can be downloaded here).
This configuration file contains the following five settings:
slider_mapping
The corresponding functions are assigned to the encoders here. The following functions are possible:
mastercontrols the general volume
mic: controls the connected microphone/input device
Program name.exe: controls the volume of the specified program
deej.unmapped: controls all programs not selected with the above command
deej.current: controls the volume of the program in focus (open and window open)
Speaker (xyz): controls the specified device, the entire displayed name must be specified. Both input and output devices can be used.
system: controls the Windows system volume
Example:
slider_mapping:
0: master
1: spotify.exe
2: deej.current
Several functions can also be assigned to one channel. Simply use a list as follows:
x:
- Function 1
- Function 2
Note: For a multi-line yaml configuration section, pay attention to the indentation!
invert_sliders
This command can be used to change the direction. This means 0% - 100% <=> 100% - 0%
Example:
invert_sliders: false
com_port
The serial COM port of the microcontroller must be specified here. This can be determined either in the Arduino IDE or in the Windows Device Manager.
Example:
com_port: COM6
baud_rate
The speed of the serial communication must match the speed set via Serial.begin().
Example:
baud_rate: 9600
noise_reduction
This setting item is only important if you are using a potentiometer instead of rotary encoders, as this compensates for the ADC's value fluctuation, the so-called noise.
Setting options: high; default; low
Example:
noise_reduction: high
Finally, you can print a bracket with a 3D printer to test the encoders in conjunction with the breadboard. This is a simple holder that can be printed quickly and attached to the breadboard. You are welcome to adapt the model in a CAD program according to your ideas.

Conclusion
Now you can use three rotary encoders to change the overall volume, the volume of Spotify and the volume of the program you are currently using. You can also add more rotary encoders to control more programs or devices individually.
Many extensions and modifications are possible here, there are no limits to your creativity.
Have fun building your own :)
Spotify and Spotify Premium are registered trademarks of Spotify AB. This blog is not affiliated with Spotify AB and is neither sponsored nor endorsed by Spotify AB. All brand names, logos and trademarks used in this post belong to their respective owners and are used for descriptive or identification purposes only.


1 commento
room6675
Ich nutze dazu allerdings einen Arduino pro micro, welcher einen direkten USB-Anschluß integriert hat und sich als HID-Device programmieren läßt. Somit braucht man keine Treiber installieren und emuliert damit die Tastatureingaben und Mausbewegungen/-klicks simulieren. Den Taster nehm ich für die Stummschaltung.